Significant other and I made our yearly trek to the State Fair on Saturday, September 29th. It was the second day of the fair and, although the skies were a bit overcast, it was a great time to visit.
We arrived early and decided to park in the handicap lot (Gate 11). It was actually easier than parking in the valet lot at Gate 5. Coming in this way, we passed the Chevrolet test track and the Mattress Firm tent. We passed the back side of the Cotton Bowl where trainers and other support personnel were arriving for the game between Prairie View A&M and Grambling which was scheduled for later that afternoon.
 We also saw the backside of some Midway rides. Side note: we steer clear of the Midway because (a) we’re not interested in the games, (b) Midway is usually the most crowded spot in the Fair, (c) there are few rides we’d get on. One that we might try is this circle on a pole. It looks fairly harmless. But, we were not deterred. We pressed on and …
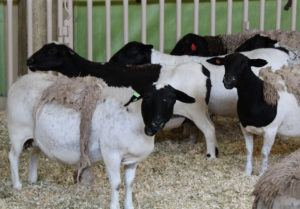
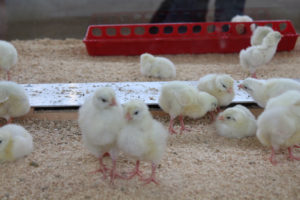 Our first stop was the “birthing barn” where we saw twin lambs that had been born two hours earlier. Several other very pregnant sheep were in another pen; some very pregnant cows were across the room; and some very pregnant pigs were being kept comfortable and warm. Newly hatched chicks were in a glass-enclosed cage while other eggs were being kept in an incubator.
We kept walking (rather, I kept walking; significant other has a wonderful red scooter) and eventually arrived at the Creative Arts Building. With the quilts, pottery, knit and crocheted items, jarred produce, walls of photographs, it’s a feast for the eyes and, almost, overload for the senses.
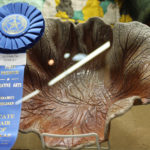
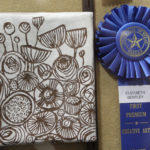
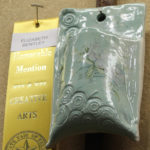
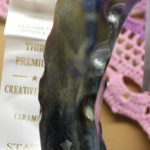
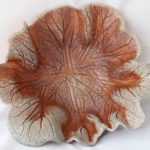
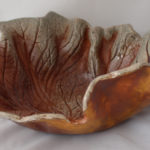
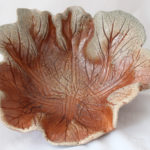
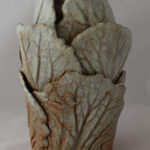
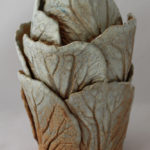
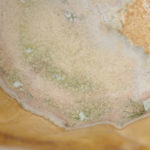
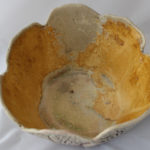
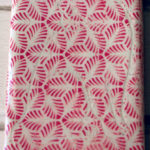
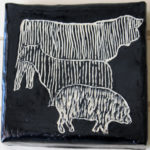
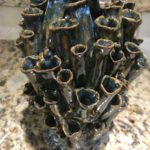
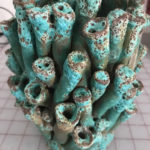
We stopped at the information booth to get a list of where my pieces were displayed (with over 70 display cases, we’d be searching forever if we didn’t get a cheat sheet). So here are photos of my pieces at the Fair.
A couple other items that caught my eye:
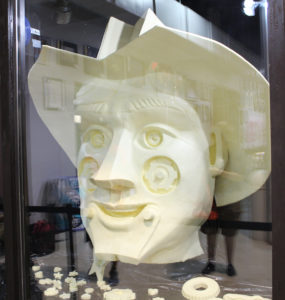
The butter sculpture |
|
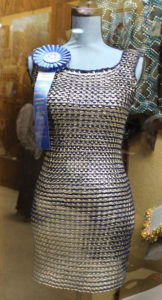
This fantastic dress made of pull tabs from drink cans |

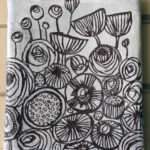
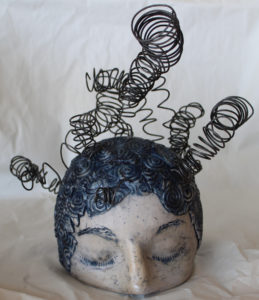 My piece “Chemo Brain” has been juried into ART214 in Dallas.
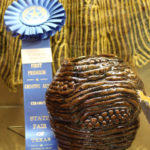
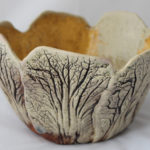
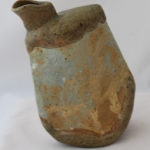
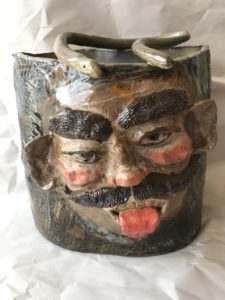 This is the latest BIG pot. Fun to create, it turned out pretty much as I wanted. It’s not a pretty pot but, hopefully, gives some people memories of childhood.
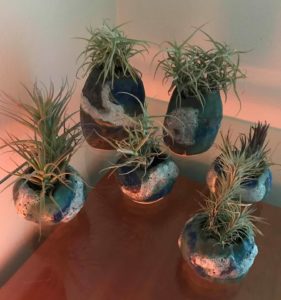 When Significant Other and I went to Hawaii in December, we stopped by an orchid nursery. While lovely, I’m not all that crazy about orchids but I’m fascinated with air plants. So, I took out a $20 bill and bought some to bring home.
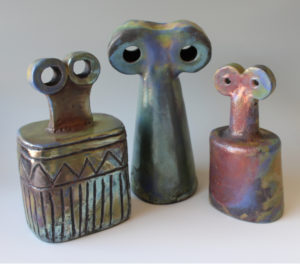 This year (2019) my hands were busy in clay rather than on my computer keyboard. But, finally, I’ve taken photos and attempted to document my pottery journey.
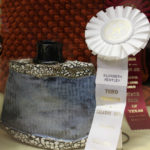
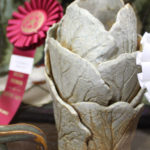
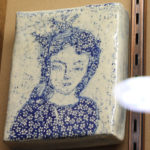


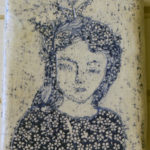
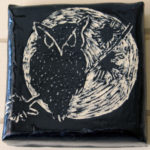
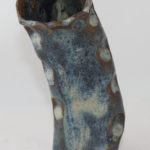

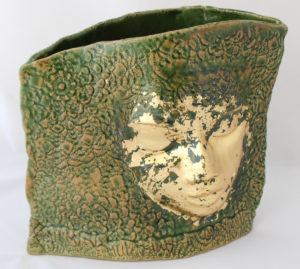 My piece, “Forest Nymph”, has been accepted into the Creative Arts Center of Dallas’ 2018 Annual Juried Membership Exhibition.
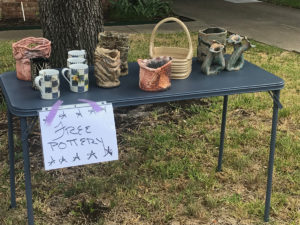 Every so often, my closets become crowded and it’s time to thin out things. I’ve toyed with the idea of having a “pottery only” garage sale but that seems like too much work. Instead, I decided to put load up a table with odds and ends and offer it FREE!!
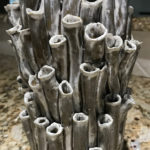
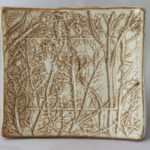
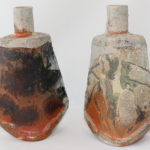
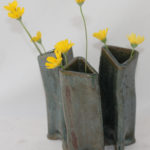
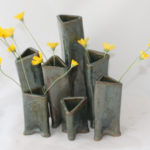
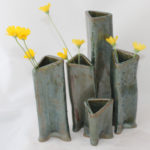
 Next, I wanted to try new shapes; so, I created tarpaper templates and these pots are the result of that experiment.