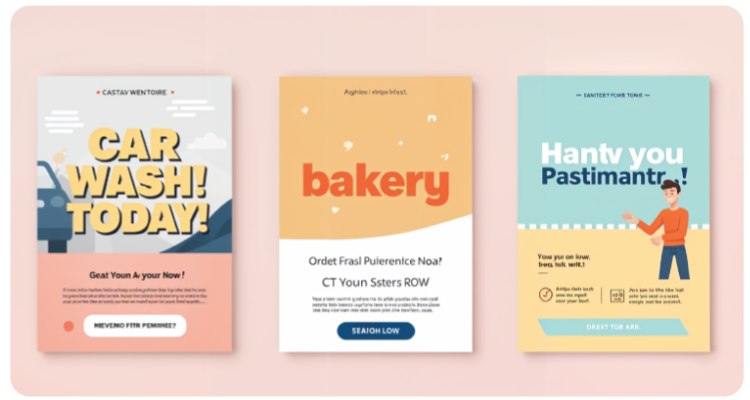
Flyers have been a go-to marketing material for decades. Even in the digital age, they remain an effective way to promote businesses, events, and services. But not all flyers get noticed. Some end up ignored, while others drive real engagement. What makes the difference? The key elements of a flyer.
- Headline
- Image
- Concise Copy
- Colors and fonts
- Layout
- Contact info
- Call to action
Let’s dive into it and understand each element with examples and fun.
Clear and Attention-Grabbing Headline
The headline is the primary component human beings see, making it essential for it to face out. A super flyer headline has to be:
1. Short and Impactful:
- Concise Language: Aim for 5–10 words that deliver a strong message. Brevity facilitates the headline status and makes it less difficult for readers to recognize its meaning quickly.
- Powerful Words: Use motion verbs and robust adjectives to create an emotional response. Phrases like “Transform Your Life” or “Unleash Your Potential” can spark an interest.
2. Clear About What’s Being Offered:
A flyer’s heading grabs attention, but what follows must clearly explain what’s being offered—this clarity is a key feature of a flyer that drives action.
Direct Messaging:
Ensure the headline truly conveys the precept furnished or the message.
Avoid indistinct terms that leave readers guessing. For instance, “50% Off All Yoga Classes!” is simple and informative.
Focus on the Audience:
Tailor the headline to mirror the hobbies of your target market.
For instance, “Join the Adventure: Free Hiking Trip!” at once appeals to outside lovers.
3. Benefit-Driven:
A benefit-driven approach is a key feature of a flyer that motivates response.
Address the Reader’s Needs: Answer the question, “What’s in it for me?” with the aid of highlighting the benefits of your provision.
This makes it more applicable and appealing. For instance, “Get Fit and Feel Great!” emphasizes non-public advantage.
Create Urgency: Incorporate time-sensitive language to encourage on-the-spot movement.
Phrases like “Limited Time Offer!” or “Act Now for Exclusive Benefits!” can encourage readers to respond fast.
For instance, as opposed to an every day “Weekend Sale,” a more compelling headline would be “Save 50% This Weekend Only!” This no longer best clarifies the message but additionally provides a persuasive detail.
Pro Tip:
Use formidable, clean-to-read fonts and position the headline on the pinnacle of the flyer to make sure it’s the first issue humans are aware of. This strategic placement maximizes visibility and captures attention right away.
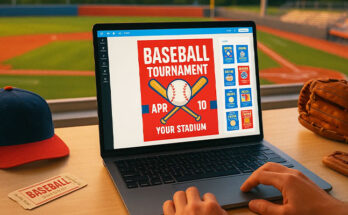
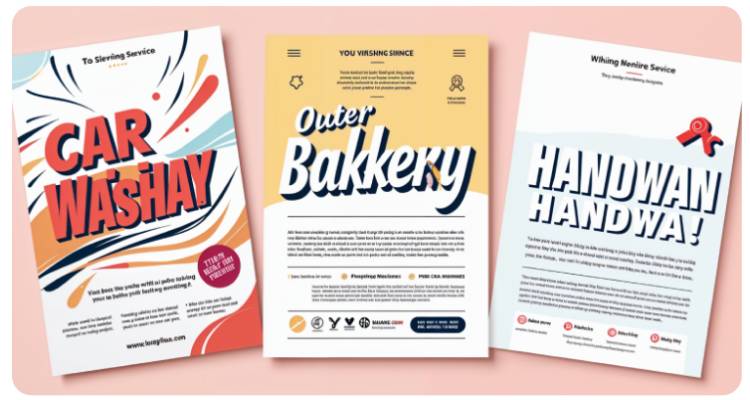
High-Quality Images and Graphics
People method visuals quicker than textual content, making first-rate photos essential for powerful flyers. A blurry or pixelated picture can lessen your flyer’s professionalism and effect.
1. Use High-Resolution Images:
To create compelling visuals that enhance your message, keep these best practices for flyer images in mind:
- Optimal Quality: Ensure that all images used are at the very least 300 DPI (dots in keeping with inch) for extremely good print. This prevents pixelation and keeps readability, making your flyer appearance expert.
- Source Quality Visuals: Use inventory photo websites or hire a photographer to attain excessive-resolution pics that mirror your brand’s best professionalism.
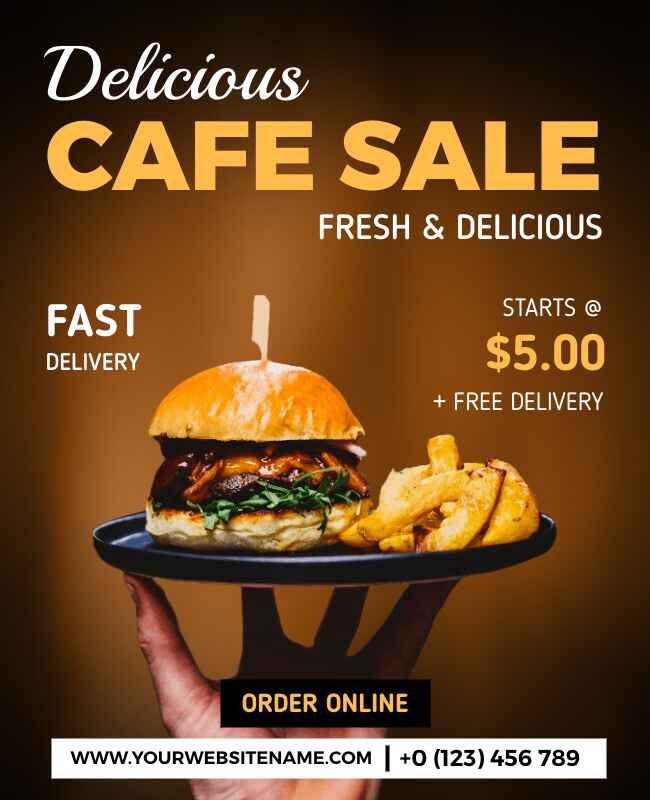
2. Choose Relevant Images:
The right visuals can reinforce your message – here are some tips for choosing images that truly support your flyer’s purpose:
Align with Your Message: Select visuals that directly relate to the content material of your flyer.
For example, if promoting a cooking elegance, use pictures of delicious dishes or humans cooking to create an immediate connection.
Resonate with Your Target Market: Understand the alternatives and pastimes of your audience.
Use pics that appeal to their demographics, along with age, lifestyle, and cultural background, to foster engagement.
3. Avoid Clutter:
Keep visuals clean and focused by using only essential elements.
Focus on Simplicity: Too many visuals can overwhelm the reader and distract from your important message.
Aim for a smooth and focused design that highlights key elements without needless elaborations.
Strategic Placement: Use white space effectively to create stability and allow pictures to respire.
This complements clarity and directs attention to vital information.
For example, if you’re designing a flyer for an eating place, a mouthwatering photo of your high-quality selling dish might be way more effective than a widely widespread food photo.
4. Alt Text for Images (For Digital Flyers)
Always consist of alt textual content describing your images, specifically for digital flyers. This exercise improves accessibility for visually impaired customers and boosts search engine marketing, improving your flyer’s visibility online.
Brief and Interesting Copy
A flyer is not a brochure—it needs to be skimmable. People won’t read big chunks of text, so make the copy short and snappy.
here’s how to write copy that grabs attention and keeps readers engaged:
1. Use Clear and Concise Language
- Avoid Technical Jargon: Stick to simple language that everybody can recognize. Complex terms can alienate readers and create confusion.
- Be Direct: Get immediately to the factor. Use sincere language to sincerely communicate your offer without needless fluff.
2. Emphasize Benefits, Not Features
Focusing on benefits rather than just features helps your flyer connect with readers on a personal level and shows them what’s in it for them.
Focus on the Audience’s Needs: Highlight what the audience will gain from your service or product.
Instead of listing capabilities, articulate how one’s capabilities translate to real advantages.
Answer the “What’s in it for me?” Question:
For instance, rather than pronouncing, “Our gym has modern-day equipment,” say, “Achieve your health desires quicker with our top-notch device.”
3. Use short sentences and bullet points
Your message should be clear and digestible. Follow these tips for better results:
Make Facts Bite-Sized: Break down records into digestible portions.
Short sentences and bullet factors beautify readability and assist readers in grasping key elements quickly.
Highlight Key Information: Use bullet factors to list blessings or essential records, making it less complex for readers to revel in the flyer and find what they want without feeling overwhelmed.

For instance, instead of saying:
“Our gymnasium boasts state-of-the-art equipment, expertly certified non-public running shoes, and a pleasant network in which you can reap your health goals.”
Try:
“Get fit with top trainers & modern equipment. Join now!”
This one is concise, interesting, and action-driven, so it’s more likely to grab attention and trigger action.
Pro Tip: Explore flyer design ideas to create your expected flyer with professional touches.
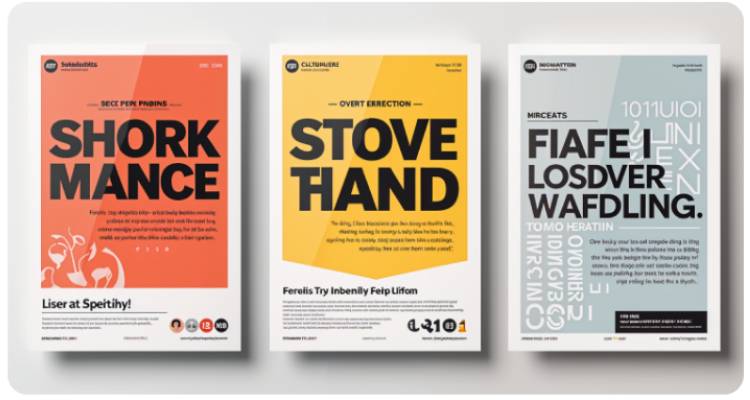
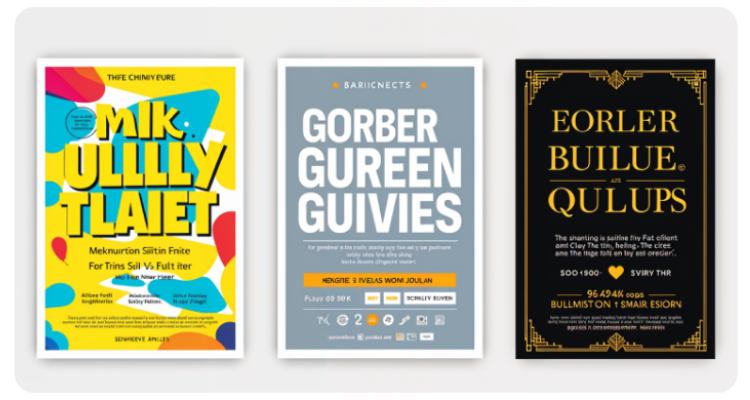
Strategic Use of Fonts and Colors
Fonts and colors play a crucial role in making your flyer readable and attractive.
1. Choosing the Right Colors:
- Brand Colors for Consistency: Use brand color palettes for flyers it enhances your brand identity.
- Contrast Background and Text for Readability: Make text stand out against the background for easy readability.
- Consider Color Psychology: Different colors trigger different emotions (e.g., red for urgency, blue for trust).
2. Best Fonts for Flyers:
- Use Sans-Serif Fonts: Fonts such as Arial, Helvetica, or Montserrat are best for easy readability.
- Avoid Decorative Fonts: Avoid very ornate fonts that are difficult to read.
- Limit Font Styles to 2–3: Keeping your design simple with an AI font pairing generator that enhances readability and visual appeal.

For instance, yellow text on a white background is a bad idea due to poor contrast and readability. Instead, use dark text on a light background to make it clear and grab attention. By following these tips, your flyer will not only be professional-looking but also get your message across.
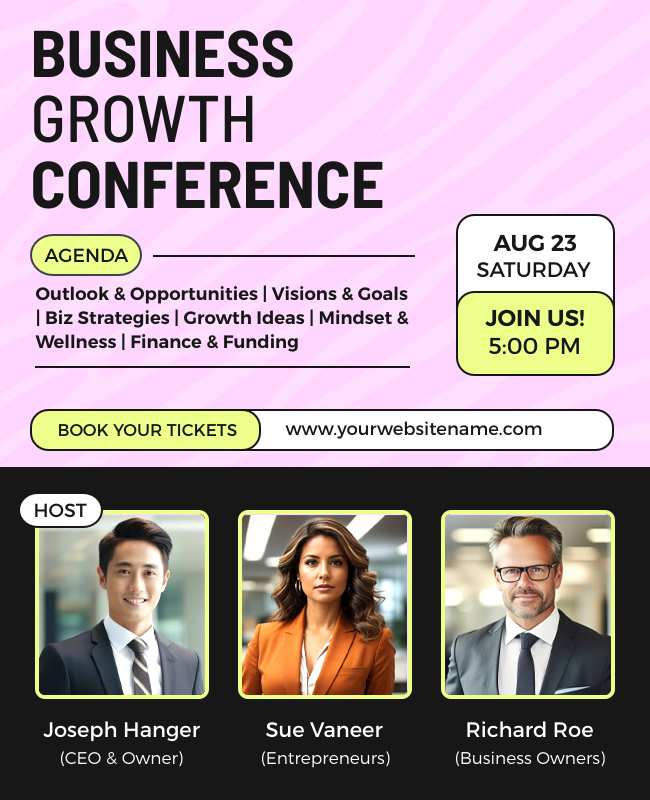
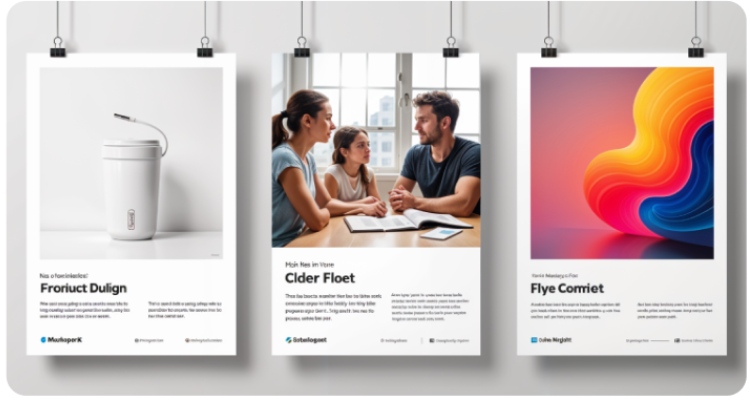
Well-Structured Layout to Read Easily
A messy flyer can overwhelm readers. On the contrary, keep your content logically arranged to make it easy to read.
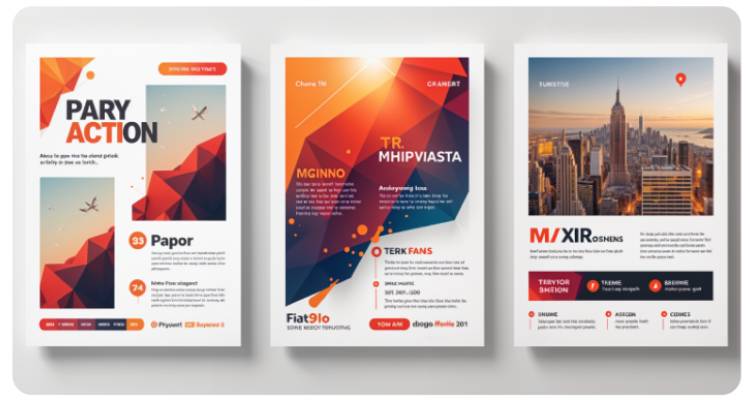
A clean, well-structured layout makes your flyer easier to scan – here are some best practices to follow:
1. Use Generous White Space:
- Prevent Clutter: Ample white area around textual content and photos helps avoid overcrowding, making it less complicated for readers to pay attention to the content.
- Enhance Readability: The white area acts as a respiration room, guiding the eye and permitting the design to feel more open and alluring.
2. Align Text and Images Tidily
For a polished and professional look, use these simple tips to align your text and images neatly:
Uniform Alignment:
Consistent alignment of textual content and images contributes to an easy, professional appearance.
Use left or middle alignment; however, keep it uniform in the course of the flyer.
Create Visual Harmony:
Proper alignment allows setting up a sense of order, making it simpler for readers to navigate the format and recognize the information supplied.
3. Apply Sections or Dividers for Clarity
To make your flyer easier to navigate, consider these ways to use sections or dividers effectively:
Well-Defined Sections: Break up content material into clear sections with headings or dividers.
This shape allows guiding the reader through the flyer in a logical manner.
Facilitate Easy Scanning: Using sections permits readers to quickly discover the information they need without feeling beaten by way of a continuous block of text.
Consider your flyer as a mini-website – every section must flow the reader’s eyes from one to another. By using these layout conventions, you will design a flyer that is not only attractive but also easy to follow, with your message being conveyed effectively.
Strong Call-to-Action (CTA)
Do you want folks to do something after they have read your flyer? A clear CTA simply tells them the next action steps.
Examples of Effective CTAs:
- “Call Now for a Free Consultation!” (Service-based business)
- “Visit Our Website to Order Online” (E-commerce)
- “Show This Flyer for 20% Off” (Retail promotion)
Steer clear of ambiguous CTAs like “Learn More.” Instead, use specificity and build urgency, such as “Sign Up Today—Limited Spots Available!” This encourages quick action and makes your flyer more effective.
Need more examples? Explore call to action examples for different businesses and wording tricks that improve response rates.
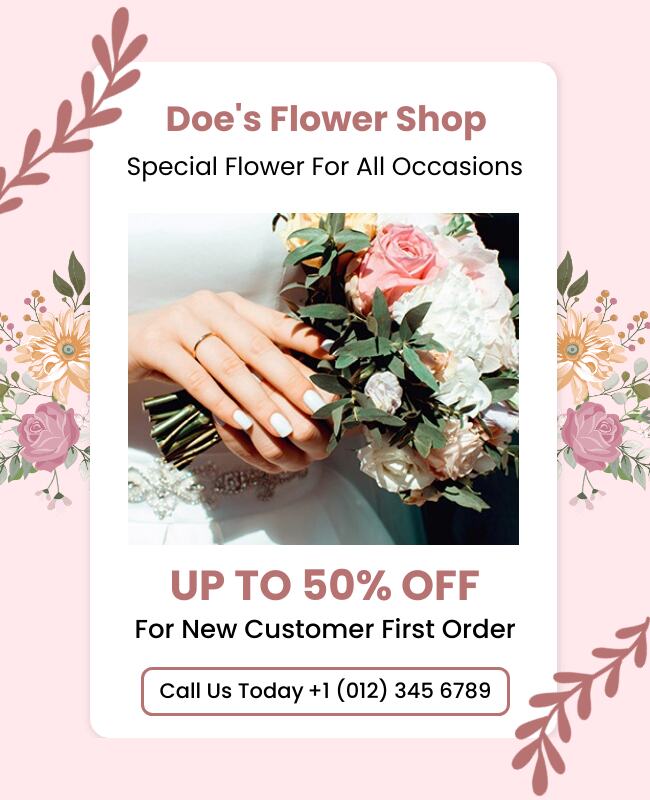
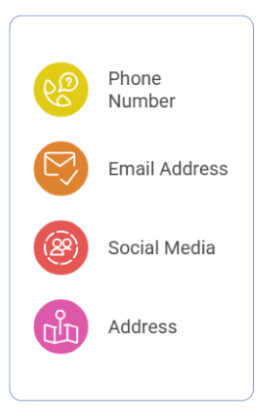
Contact Information and Important Details
Having important details on your flyer is essential in order to enable your audience to easily get in touch with you. Here’s what to have:
Important Pieces:
Make sure your flyer includes these key details so readers know exactly how to reach you or take the next step:
Phone Number
Put your phone number up front, ideally at the top or bottom of the flyer. Make it readable and accessible. Add a call-to-action like “Call Now for More Info!” if possible.
Email Address
Include a business email address that matches your branding. If needed, provide the best times to call for questions or assistance.
Social Media or Website Handles
Use your website or social media for further details or to interact with you more. If you’ve got current social media sites, provide handles or links to tempt followers. You could add, “Follow us for news and promotions!”
Address (if used)
If you’re advertising a physical venue, state the address prominently. You might also include a small map or directions if the venue is tricky to locate.
Design Considerations:
Keep these design considerations in mind to improve usability and impact:
Visibility:
Make sure your contact information is prominent by using a bigger font size or a contrasting color from the background. This ensures that the important information grabs attention.
Layout:
Organize contact information in a logical sequence, either in a block at the end or distributed throughout the flyer as necessary. Keep formatting consistent to ease reading.
QR Codes:
Using QR codes on flyers to direct people to your site or a promotion, test them extensively to make sure they work properly. Put them in a high-traffic area and add a simple instruction on how to use them, e.g., “Scan to learn more!”
By making your contact information and key details easy to see, you promote communication and enhance the chances of interaction with your viewers. This openness generates trust and invites prospective clients to contact or act.
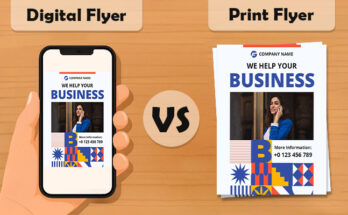
Design Tips for Print and Digital Flyers
Flyers can be printed and distributed in either physical or digital form, with each having unique considerations to maximize effectiveness.
Print Flyers
- Print Flyers: Use CMYK Color Mode For printouts, use the CMYK (Cyan, Magenta, Yellow, Black) color mode. This is to ensure that colors are accurate and consistent when printed since this mode mimics how inks mix on paper.
- Maintain a Bleed Margin: Create your flyer with a bleed margin (usually 0.125 inches) to avoid critical content being trimmed off in printing. The margin provides for minor cutting adjustments that may happen in the printing operation.
- Select Quality Paper: The quality of the paper affects the overall impression of your flyer. Select a thicker, premium paper to pass across professionalism and endurance. Think about finishes such as matte or glossy according to your design style.
Digital Flyers
- Use RGB Color Mode: For electronic flyers, utilize the RGB (Red, Green, Blue) color mode, which is screen viewing optimized. The mode enables more extensive sets of bright colors that are perceived as brighter on monitors.
- Optimize File Size: Make sure your online flyer loads quickly, particularly for sharing through social media or email. Use compressed images and efficient file types (such as JPEG or PNG) to minimize file size without compromising quality.
- Include Clickable Links: For social media flyers or PDFs, add clickable links that lead readers to your website, social media pages, or promotions. This interactive feature invites engagement and makes it simple for users to proceed. Need this in tabular format.
Designing for Both:
If you intend to produce flyers for both print and digital use, it’s crucial to design different versions. Here are some guidelines:
- Modify Color Schemes: Make sure that colors in print CMYK appear well in digital RGB and vice versa.
- Alternate Layouts: Print flyers may have more elaborate information, but digital ones can be brief with interactive elements.
- File Formats: Save print flyers in high-resolution formats (such as PDF or TIFF) and digital flyers in web-friendly formats (such as PNG or optimized PDF).
By knowing these digital and print flyer differences and needs, you are able to make effective flyers that appeal to your audience in print and online formats.
Frequently Asked Questions (FAQs)
Your headline is the star of the show—it’s gotta shine! Keep it short (5–10 words), use powerful words like “Unleash” or “Save,” and make it clear what’s being offered. For example, “50% Off This Weekend Only!” grabs attention and creates urgency. Oh, and place it at the top with a bold, easy-to-read font so no one misses it.
Super important—like, “don’t leave home without them” important! High-quality images (at least 300 DPI for print) grab attention faster than text. Pick visuals that match your message—like a tasty dish for a restaurant flyer—and avoid clutter. One stunning image is better than a dozen messy ones. For digital flyers, don’t forget alt text for accessibility!
Less is more—think of your flyer as a tweet, not a novel! Use short, snappy sentences and bullet points to make it skimmable. Focus on benefits, not features. Instead of “Our gym has new equipment,” say “Get fit faster with top gear!” Keep it clear, avoid jargon, and make sure it answers, “What’s in it for me?”
Stick to your brand colors for consistency, and use contrast—like dark text on a light background—for readability. Colors can set the mood (red for urgency, blue for trust), so choose wisely! For fonts, go with sans-serif styles like Arial or Montserrat, limit yourself to 2–3 styles, and skip the fancy, hard-to-read ones. No one’s got time to decode cursive!
A messy flyer is a ignored flyer—don’t be that guy! Use plenty of white space to avoid clutter, align text and images neatly (left or center works best), and break content into sections with headings or dividers. Think of it like a mini roadmap: guide the reader’s eye smoothly from the headline to the CTA without any roadblocks.
A good CTA tells people exactly what to do next—no vague “Learn More” nonsense! Try something specific and urgent like “Call Now for 20% Off!” or “Sign Up Today—Spots Limited!” Whether it’s for a service, sale, or event, make it actionable and hard to ignore.
Don’t leave your audience hanging—give them the deets! Include your phone number, email, and social media handles or website (with clickable links for digital flyers). If it’s a physical location, add the address and maybe a mini-map. Make it all easy to spot with a bigger font or contrasting color, and test any QR codes to ensure they work like a charm.
It’s like dressing for two different parties! For print, use CMYK color mode, add a 0.125-inch bleed margin, and pick quality paper. For digital, switch to RGB, optimize file size (JPEG or PNG) for quick loading, and add clickable links. If you’re doing both, tweak the colors and layout for each format to keep things looking sharp.
Conclusion
A flyer is more than simply a piece of paper—it’s an advertising and marketing material that could clutch attention, convey your message, and power movement. With key features such as clear headlines, high-quality visuals, smart layouts, and robust CTAs, you’ll create flyers that truly work.
Want to layout a flyer quickly and easily? Check out our editable flyer templates that save you time and effort!