
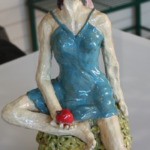
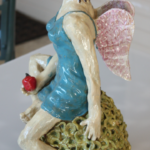
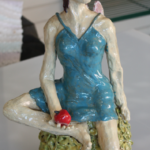
I’ve been fascinated with hand-built clay sculptures for a long time. Tried to create a few with some success but more disappointments. I think it’s because I’ve always built over a form, not trusting myself to build it from scratch. I’d even tried a sculpture class or two but didn’t really understand the process; so, it was back to my partial success with forms.
When Creative Arts Center of Dallas offered an animal sculpture workshop, I signed up … a couple of times. But, each time, it was cancelled until last month. Frankly, I was surprised that the workshop was a GO! because class size was limited and we were required to wear masks.
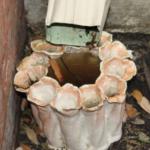
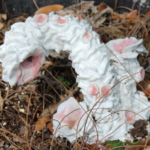
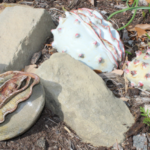
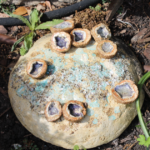
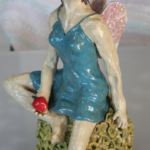
Well, this was the best workshop ever! Susan Giller helped me understand the process of building a solid figure, refining it, hollowing it out and finishing it. Here are some “work in progress” photos.
-
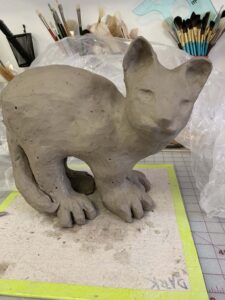
- In the beginning there was clay. Took a while to shape and refine.
-
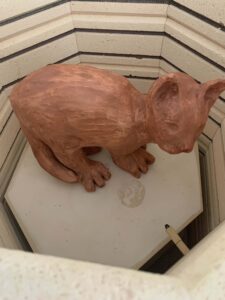
- Red iron oxide wash added before cat was bisque fired
-
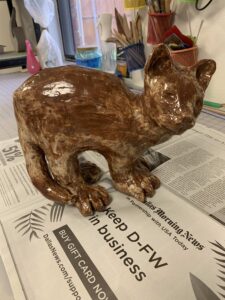
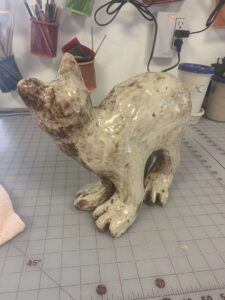
- After first glaze firing. Didn’t add enough glaze to cover the red iron oxide
-
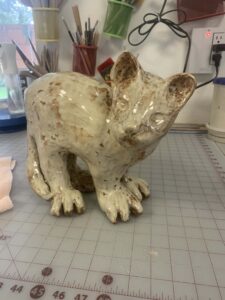
- Yes! Cat after second glaze firing.
-
- Back of cat after second glaze firing
-
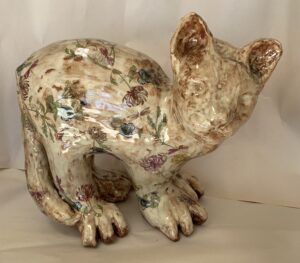
- Finished cat with decals.
 This is Charlie. He’s a rescue dog who was running the streets for quite a while. He had absolutely no manners when we got him and, though he’s improved a lot, he still has a street dog attitude, especially when it comes to food.
 Later that afternoon, I was feeling semi-human and my Significant Other offered to get me something at the store. I asked for crackers. He came back with this package.

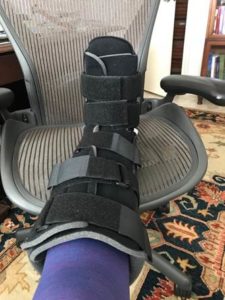 I’ve avoided posting about this little mishap for over a month now because I don’t want to admit that I’m actually that clumsy.
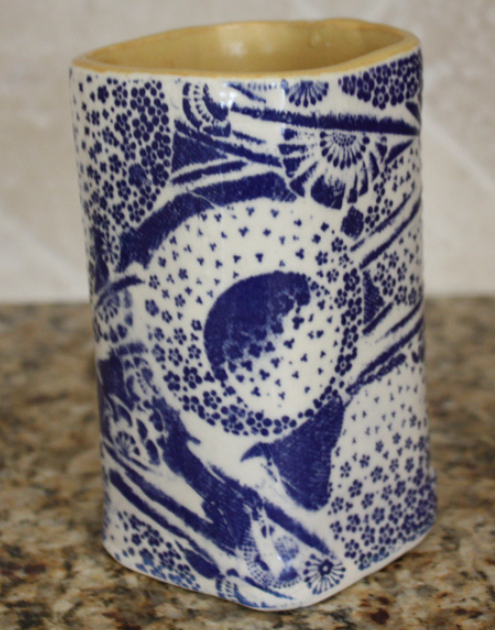
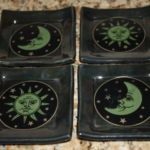
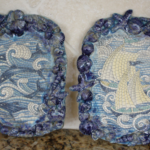
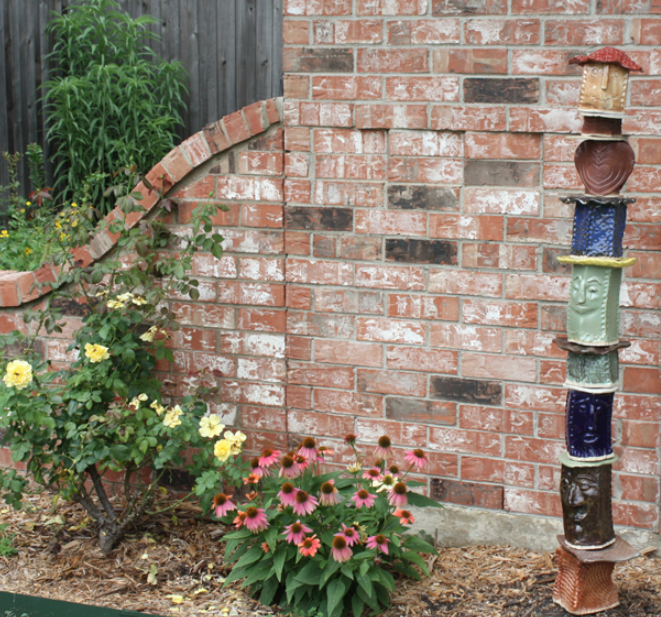
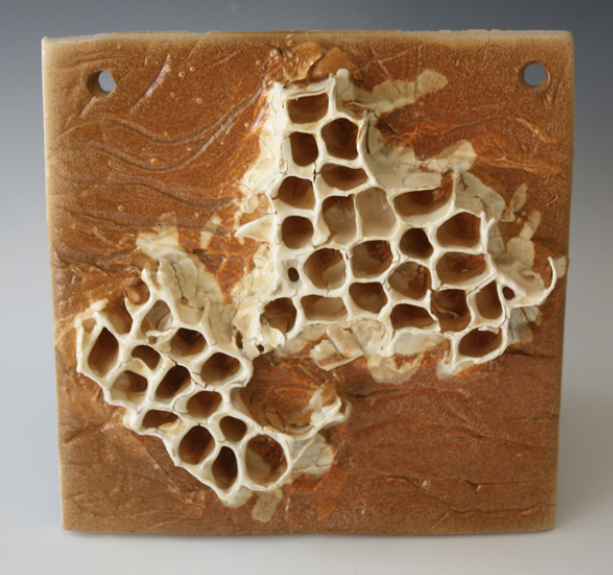 Part of the fun of working with clay is experimenting with various textures and procedures.